Sunday, 12 June 2011

BATHROOM PROGRESS #4:

Bath in situ


& Toilet


The tiler starts on Monday so the bathroom is progressing nicely.  The new bath, taps, and toilet are in place until the Brian, the plumber returns to for his second fix; the hand basin; the heated towel radiator; and boxing the pipes.  In the meanwhile, I need to start shopping around for a bath panel now that I know the full height of the bath.

TOTALLY REWIRED

17th Edition compliant split way Consumer Unit with dual RCDs


New light switches in every room


At least 3 double sockets in each room


On Friday, Alan & Ian, the electricians, finished the complete electrical rewire leaving me with a big mound of spaghetti like obsolete extention cords.  From a couple of single power sockets in each room, there are now at least three double sockets for all those gadgets that comprise of modern living.  A new outside porch light; an external waterproof double power socket for outdoor working; a video door intercom system; a five-foot flourescent in the loft; and they even re-routed the internet cable through the walls and into the office.

The installation went pretty smoothly according to the electricians, but little did they know how I suffered having to get up at 6.45am every day as they always arrived so punctually at 8.00am.  Somedays, they were even parked outside by 7.45am.  A great relief at the fantastic job that they did and that it is now over.    

'Yeah, whaddayawant?'
 

Sunday, 5 June 2011

BATHROOM PROGRESS #3: WHAT LIES BENEATH

A hammer & chisel and the start of a revolution!


Work has finally kicked off on the bathroom with a Bank holiday weekend exhaustingly spent removing the remainder of the tiles.  Then the shock came: the old plaster behind the tiles was blown - dry, crumbling and turning into sand.  As a result, the two walls around the bath tub required scraping back to the brickwork.

Blown - and not in a good way.


Shabby Chic or just shabby shit?


Brian, the pumber started on Tuesday.  The second hitched was Thames Water had to be called in as there was a problem with turning the water off from the outside mains.  Within a couple of hours, they had sorted the problem and work could commence with the bath tub being removed.  Needless to say, for the last week all that there has been is a basin to wash in, and a bucket to flush the toilet while the walls are re-plastered before the new tub goes in.

Bathless


Gerry's master plastering


The electric shower was removed and the pipework laid for the new shower.


And so comes the end of another exhausting weekend.  Tomorrow the electricians arrive to start the full rewire.

Saturday, 14 May 2011

GALLERY - TWO IMAGES


'A ROSE IS A ROSE IS A ROSE'


"A rose is a rose is a rose," so said Gertrude Stein.  Was she on drugs or was she just marvelling at the beauty of them?  Nobody knows.

A bird is a bird is a blackbird

Wednesday, 11 May 2011

COURTYARD MAKEOVER PART 2

First build of the planter facades


Hidden Gas Meter


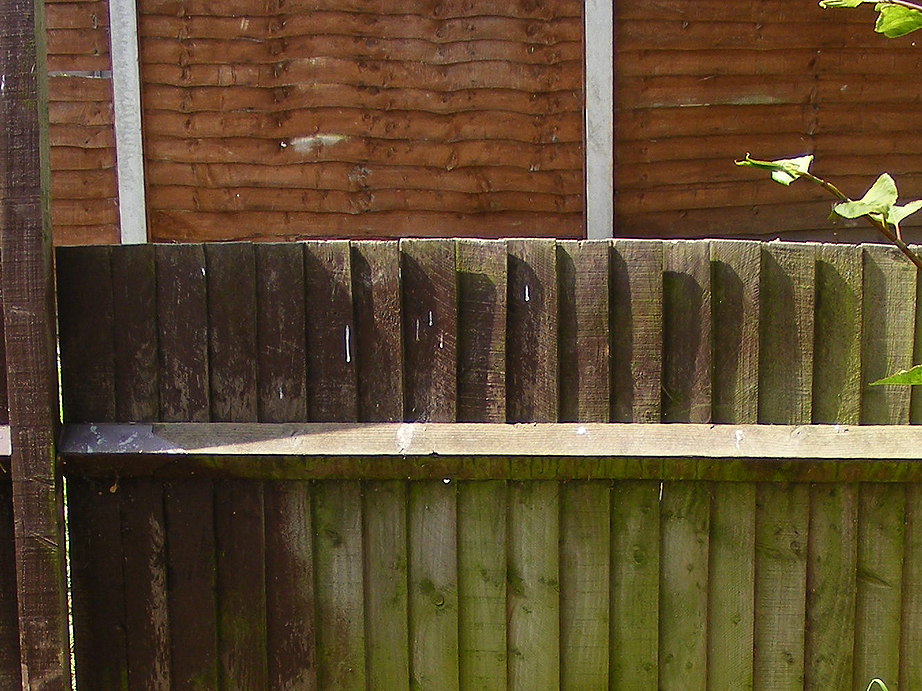
This is the first build of the Courtyard planter facades.  Not bad, considering that they been made out of recycled old garden fencing.  The plank on top is to get an idea of the edge and will eventually be the same colour as the planters when they are completed.  The gas meter (visible in the previous post)  has now been concealed behind a liftable flap.  The sides of the the planters will probably be squared off as they look kind of messy.  The gravel is to be replaced by tile (either terracotta or grey), and the concrete edging leveled and tidied up.

For the planters I'm thinking of low bushy evergreens that will provide a touch of winter colour and can spill over the edges. Euonymus fortunei - Emerald Gaiety and a Spotted Laurel (aucuba japonica) in the far corner which is rather shady, and probably a couple of Hebes to provide so flowering and a splash of colour.

Euonymus fortunei - Emerald Gaiety


Aucuba Japonica


Hebe


Just an idea but I wonder if it would be too much to add this wonderful wall sconce water feature in the centre of that bare wall?

Sunday, 8 May 2011

COURTYARD MAKEOVER

The original Courtyard with broken trellis


New, replaced trellis - September 2010


Old Garden Fence


End piece of the new planters


My neighbour has started work on building his summerhouse. I decided to take off his hands all the old fences that we replaced last summer that were cluttering up his garden.  My intention is to recycle the wood and create planters along the walls of the courtyard.  Last summer, I replaced the dilapidated trellis and planted a passion flower to climb all over it. One day, I'd like to walk through that gate and be confronted by a lovely, welcoming courtyard garden filled with plants.  The area also serves as the smoking room so it gets plenty of use. 

Last weekend, I dismanted all the fences, throwing away the slats that were split and keeping the useable ones.  Overall the wood is in good condition, and just in need of a lick of paint.  I can't praise Cuprinol Garden Shades outdoor paint enough as it almost plasticates the wood so the dirt just washes off it, holds its colour well, and does not fade. 30-40 minutes is all it takes to dry.  The colours I have used are ash black (front trellis) and willow for everything else.   For the more adventurous, there is a range of colours that can be combined into some funky combinations to brighten up any outdoor area.

Click to Enlarge


Click to Enlarge


Click to Enlarge


Click to Enlarge


Click to Enlarge


Click to Enlarge


Full brochure available at:-
http://www.cuprinol.co.uk/web/pdf/guides/Cuprinol_Garden_Shades_Colour_Guide.pdf

Wednesday, 4 May 2011

THE JOY OF D.I.Y.

Some days the wave of exhilaration takes longer to come...

Monday, 18 April 2011

CLIMBERS

Clematis 'Avalanche'


The latest additions to the garden have been a couple of climbers. Well, at least they are not swingers!

If you have a largely empty garden, barren of plant stock, then climbers are a good way of creating the illusion of tall plants while your shrubs grow to full height.

Clematis 'avalanche' is an evergreen climber with cascades of creamy white flowers.  It seems to have settled into its location nicely and is finding the 'invisible' wire supports.

Flower detail


Akebia Quinata


Akebia Quinata is a semi-evergreen climber with conical maroon-chocolate flowers which are said to smell of vanilla and appear in spring.  I may have to wait until my plant grows bigger before I get a glimpse of these.  Bizarrely, this unusual climber also has large sausage-shaped fruits.


Akebia Quinata - Flower Detail


Apple blossom


The apple tree has burst into blossom, so I'm hoping for a bigger harvest than the paltry seven apples that appeared last year!


Wednesday, 13 April 2011

LIFE ON THE EDGE

Concreting the Left Patio Edge


Right Patio Edge


Lonicera henryi - an evergreen honeysuckle finds a corner.


The recent good weather meant an exhaustive flurry of activity in the garden. The edge trenches around the patio have now been filled with 8 inches of concrete and the little box trees (buxus sempervirens) are now in place along the sides.  Terracotta coloured decorative wood chippings provide a bit of vibrant colour to the empty soil as well as a good indicator of the areas that have been planted:  particularly useful when planting bulbs.

Three of the four trellis panels have now had one of their faces framed which gives them a more finished look as well as eventually securing the trellis permanently.  Nailing the inner frames to the outer ones was quite tricky as the nail needs to go in at a sharp 30 degree angle.  Eventually I realised that it is a lot easier to use a slim drill bit to make deep pilot hole at the desired degree and then drive the nail in afterwards.  Useful to remember for tricky nailing jobs.

I'm also in the process of securing wires to the fence panels to provide support for sprawling climbers (see honeysuckle picture).  A quick lick of paint and voila!  They are almost invisible.